How to Create a Table in Photoshop: 3 Best Ways – In addition to editing images, Photoshop also allows you to create designs from the shapes provided. One of them is how to make a table in Photoshop.

Table of Contents
How to Create a Table in Photoshop:3 Easy Step
Creating a table in Photoshop is not too difficult, because there is a special tool. You can also display a grid so that the table design that will be made looks neater.
Read more:
- How to Make A4 Size Paper in Photoshop
- 10+ Best Photo Editing Applications on Android
- how to Remove IDM Completely From Windows 10
- 10+ Best Free Data Recovery Software for Windows 10
What does it do? Well, quite a lot.
- Make a list that has certain information
- Make brochures to explain the specifications of smartphones and laptops
- Enrich the contents of the design to make it look neat
For the manufacture, let’s continue reading.
For the tutorial here I will explain the steps one by one. Follow with notes too, don’t miss anything.
# 1. Open the Adobe Photoshop Application
The first step is to open the Photoshop application on the PC used. But if you don’t have it, then you have to install it first.
# 2. Creating a New Canvas or Worksheet
Then after the Photoshop application opens, you must create a new canvas in it.
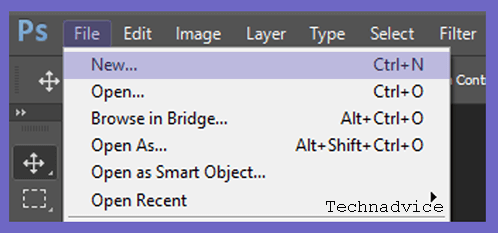
The trick is to click the File menu > and then select New. If you want to be practical, you can also use a shortcut by pressing Ctrl + N on the keyboard.
Now a new canvas or worksheet will appear in your Photoshop.
# 3. Displaying and Configuring the Grid
If you want to make tables neatly, then you must display the grid on the canvas that has been created.
The existence of this grid will make it easier for you to adjust the position of the table that will be created later.
If you want to use the grid to create a table, please follow these steps:
- First, you have to display the grid first. The trick is to click the View menu > point the cursor to the Show option > and select Grid.
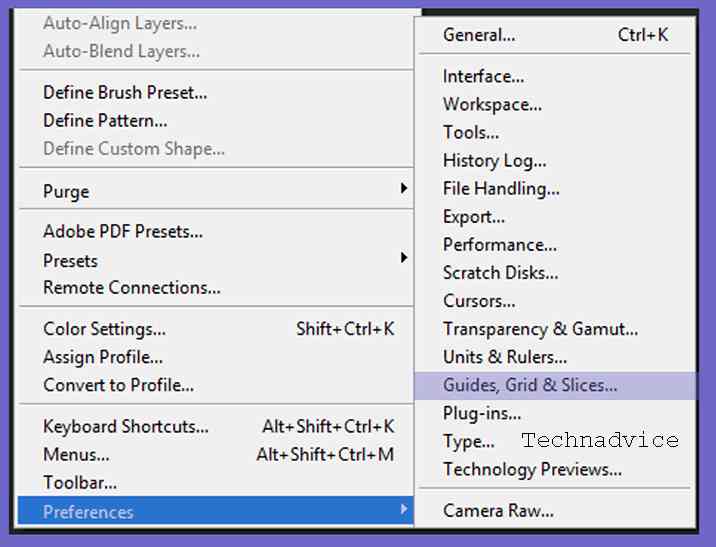
- Then configure by clicking the Edit menu > pointing the cursor to the Preferences option > then selecting Grid, Guides & Slices.
- After the Preferences window appears, you can configure the color, spacing, and style of the grid lines. For this practical, I’ll be using a gray, Gridline Every 50 px, Subdivision 10.

- If you have click OK.
- Then the grid that you have configured will appear as shown below.
After the grid is successfully displayed, you can now create a table with the help of shapes from the rectangle tool.
Follow these steps.
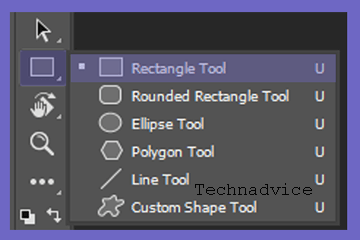
- First, you need to activate the rectangle tool first. You can check through the available tool menu.
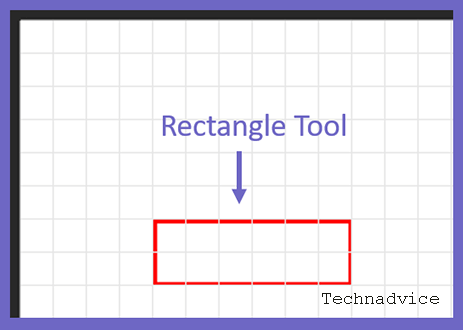
- Then place it as you like.
- Next, configure the rectangle tool, such as setting the fill to be inactive, the thickness of the line 2 px, and the red stroke.
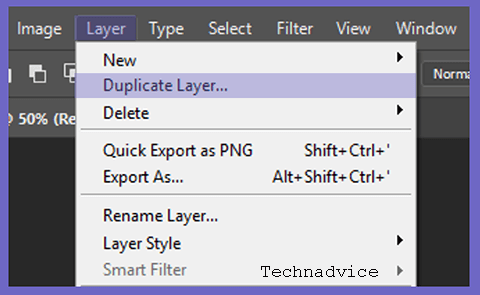
- If you want to create another row, you can duplicate it to make it easier. The trick is to click on the layer you want to duplicate > then select the Layer menu > and use the Duplicate Layer option.
- When the rows are the way you want, you can now create columns. The trick is to click the Line Tool and make it like a straight line.
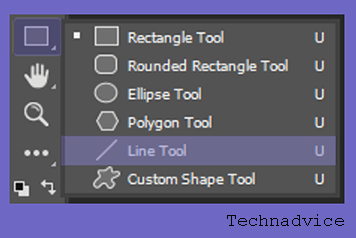
- Then change the color and size of the Line Tool, such as the format, activate the fill and stroke in red and the thickness of the line is 2 px.

- If you want to make lots of columns, you can duplicate the layer again like in the number 4 method.
- Then the result will be like the following image.
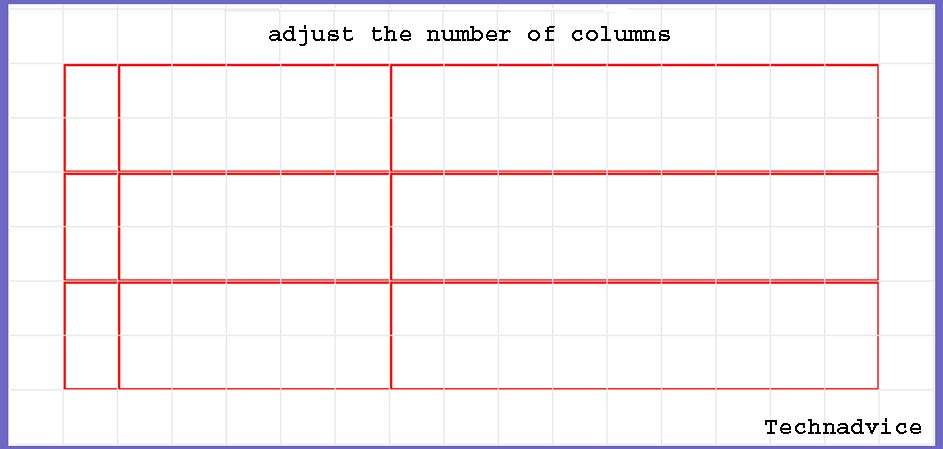
Now you have successfully created a table in Photoshop.
For this method, I use Adobe Photoshop CC 2017. Those of you who use Adobe CS can also apply this method.
Read more:
- 4 Ways to Find Your Computer’s System Specification
- How To Update Windows 10 Offline Permanently
- How to Restore Windows Photo Viewer Windows 10
Conclusion:
That is the discussion on how to create a table in Photoshop. For those of you who are designing a project, whether it’s brochures, pamphlets, banners, or others, maybe you can also add elements to this table.


