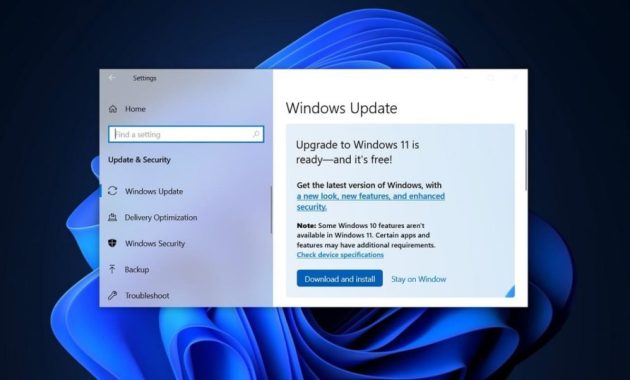
What To Do if Windows 11 Doesn’t Work After Updating – Since its launch, and like every new version of Windows 11 that hits the market, Windows 11 continues to deliver new versions to address minor system bugs.
 What To Do if Windows 11 Doesn’t Work After Updating
This version can have its faults, and it forces us to be careful and check that they do not affect the general performance of our computer and make it difficult for us.
Read more:
- 11 Ways To Fix Error Windows Explorer Has Stopped Working
- 6 Ways to Fix error “This copy of Windows is not Genuine”
- 5 Ways To Fix Network Cable Unplugged Error in Windows
- 3 Ways To Resolve Error Code 0x0003 NVIDIA GeForce
If so, there are some workarounds you can try on your computer.
Windows 11 is Microsoft’s newest operating system for computers, and as is often the case, when this OS is updated, the number of updates we receive at the start can be overwhelming. This has to do with the need for developers to resolve minor conflicts they notice.
But if you encounter problems after installing the latest version, in this article we will show you what to do in cases where Windows 11 doesn’t work after updating, so that it works again.
10 solutions for Windows 11 that don’t work in 2023
#1. Restart your PC
The first solution is always the most obvious, but it’s still a good idea to restart your computer after upgrading. Indeed, your computer will usually restart automatically after completing that process, but if we’re working or playing with it, we can delay the restart, so be sure to do so.
#2. Uninstall updates
Sometimes you need to uninstall the latest Windows 11 update, assuming it’s the one with the flaws. It could happen, even if it happened with previous versions of Windows, that the update was “bad”.
Once you’ve uninstalled it, you can always try to install it again or wait for a newer update, which may have fixed a bug found in the previous version.
You can do this from Start, Settings, Windows Update, History, and Uninstall updates. There, select the latest update and click Uninstall to revert to the previous one.

#3. pause the update
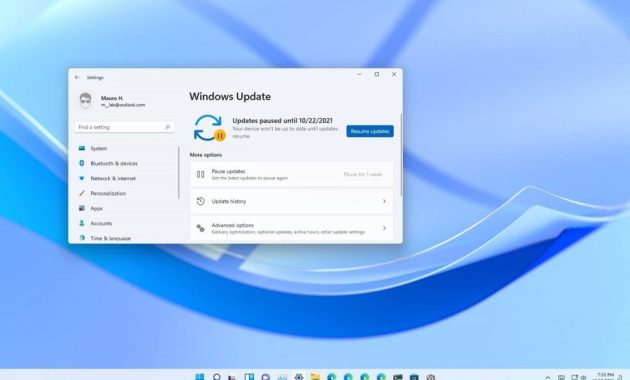
Once you’ve finished the previous tutorial, and to prevent those updates from continuing to bother you, you should pause them. remember you can stop automatic updates in Windows 11, just like in Windows 10.
From the same Settings, in Windows Update, you will find the option to Pause updates.
#4. Run the Windows Update Troubleshooter
If you’re still seeing error messages when you try to upgrade, to a newer or earlier version of Windows, it’s likely accompanied by a random string of letters and numbers, such as Installation Error – 0x800f0831.
You should google what it means and then run the Update Troubleshooter. This is done by going to Start, Settings, System, Troubleshooter, Other troubleshooters, running it, and waiting to see if that gets rid of this problem.
#5. Disable your antivirus
It’s a fact that antivirus software and Windows updates don’t go hand in hand. , so you shouldn’t forget to try upgrading or downgrading Windows without disabling it first.
With Windows Security’s real-time protection, you shouldn’t have any problems, so just leave it at that.
#6. Pindai malware
Viruses, malware, and other digital threats can stop your Windows PC from working properly. While it seems unlikely, it also affects Windows Update from time to time.
If in the case of antivirus, it is better to disable it for a moment, for anti-malware you should act differently, running it to find any malware causing a system crash after the update.
If you don’t have a third-party anti-malware, the Windows Virus & Threat Protection option will still help. There you can specify the specific type of analysis that interests you, but we recommend the most comprehensive.

#7. Run DISM and SFC
Windows updates aren’t perfect, and that means, sometimes, we have to be willing to intervene in them.
DISM -Deployment Image Maintenance and Management- and SFC -System File Checker- are two tools that Microsoft provides to avoid this inconvenience.
From the Windows search magnifying glass, you can search for both commands and run them, and we recommend that you do so to see if the command contains the solution you need, before proceeding with other alternatives.
#8. Boot Safe Mode
Booting Windows 11 in Safe Mode is another thing you can do if Windows 11 is not working after updating, more so because it is a method that eliminates potential conflicts in the computer.
To do this, turn off the computer, and when you turn it on again, before seeing the Windows logo, indicating that the operating system is starting, press F5 or F8 repeatedly. A new screen will appear, with many available boot options, among which we have to select Safe Mode.

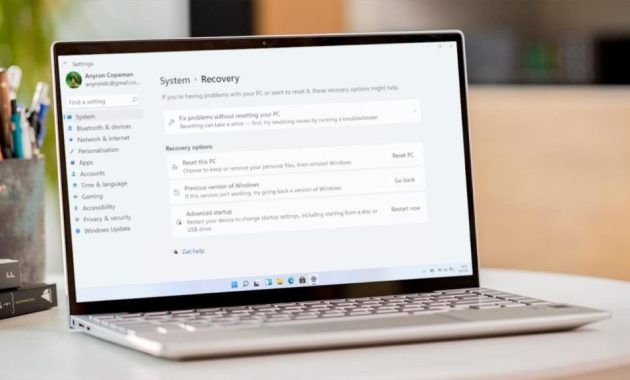
#9. Reset Windows 11
At this point with no concrete solution, it might be time to Reset Windows. Keep in mind that you can keep your files, although apps and settings will be deleted.
You can do this from Start, Settings, System, Recovery, select Reset PC,
#10. Perform a clean install of Windows 11
If our other tips don’t work, you can always do a classic clean install of Windows 11.
We can say that this is a “last resort”, and you should have a bootable Windows 11 USB installation drive or Windows 11 recovery USB drive, booting from the Advanced Recovery environment, only if you are knowledgeable enough…
Installing Windows 11 from USB is a bit more difficult, but you can still do it without any problems.
Read more:
- 11 Ways To Fix This App Can’t Run on Your PC Windows 10
- 6 Ways to Fix Blur and Small Text in Windows 10 PC
- How to View and Delete Google Chrome Download History
Conclusion
So, friends, This is the explanation of What To Do if Windows 11 Doesn’t Work After Updating, If Windows 11 doesn’t work after the upgrade, don’t panic because there are several workarounds. Hopefully, any of the above tips will help resolve any issues you’re having with the update.
Also, keep in mind that if your computer is having problems, it may not be a software issue, but it could be a hardware issue as well. Watch for signs.

Leave a Reply