15 Ways To Fix Computer Turns on But No Display – The most common problem with computers is when the PC turns on but displays nothing on the monitor. You see the LEDs on the computer case come on and hear the fan spinning from inside the PC but nothing appears on your monitor screen.
Table of Contents
How to Fix Computer Turns on But No Display
Since there are several reasons why your PC is not displaying anything on the monitor, you must read the troubleshooting below.
Read more:
- 6 Ways to Uninstall Applications that Windows Can’t Remove
- How To Update BIOS on Windows 10 PC Laptop
- 4 Ways to Stop Automatically Running Programs When the Computer Turns On
- 4 Best Ways To Enable Aero in Windows 7
#1: Testing the Monitor
Before you start troubleshooting complex and time-consuming problems, check all PC-to-monitor connection cables, making sure your monitor has no problems. Also check if your VGA/HDMI cable is loose, causing the monitor to not accept input from the computer.
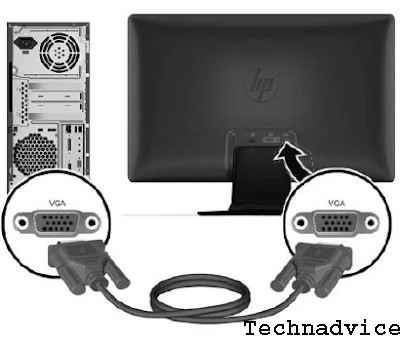
Very likely if your computer is fine, but the monitor is the problem. You can try another monitor that looks like it’s still working.
#2: Restart Computer
Sometimes just by restarting the computer, some problems can be solved. Try pressing the reset button, or make sure everything starts from scratch by turning on the computer.

Often times the computer will appear as “not turning on” when in fact it is only having problems waking up from Standby/Sleep or Hibernate mode in Windows.
#3: Check Beep Code ( if any )
Assuming, you are lucky enough to hear a beep code from your computer, it will be easier to pinpoint the location of the computer problem. A beep code will tell you exactly what is causing your computer problem. Click here for a guide to the beep code if you hear a beep.
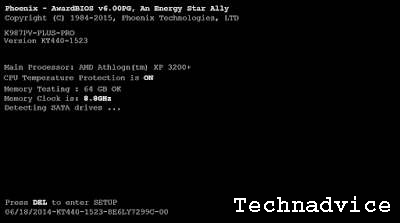
Listen carefully for the beep code that sounds when the computer starts up. If missed, simply restart/restart your computer, and listen again. At least restarting or restarting the computer a few times won’t make the problem worse.
#4: Clean the RAM Connector
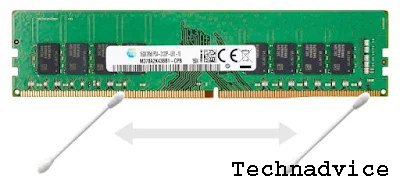
Remove the RAM from the motherboard, then clean the RAM connector using a cotton bud that has been dripped with a little rubbing alcohol (IPA / isopropyl alcohol). When it’s clean, wait for the RAM to dry, then plug it back into the motherboard, then restart the computer.
Cleaning the legs or RAM connectors can also be done using a rubber eraser, but is not recommended by some professional technicians.
#5: Reset CMOS Kembali
Do a reset on the CMOS. Clearing the BIOS memory on your motherboard will restore its original BIOS settings. A misconfiguration in the BIOS could be the cause of your PC not turning on for a long time.
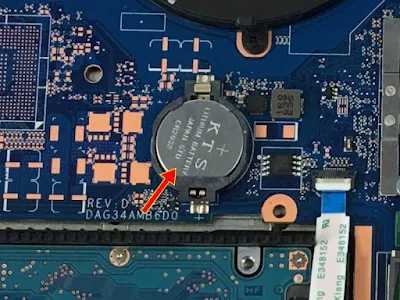
For PCs, you can remove the round battery on the motherboard and then put it back in after a while.
Also, if you’ve ever used jumpers to reset CMOS, then use those skills now.
#6: Check Switch Power Supply
If so, make sure that the power supply voltage switch is set correctly. If the input voltage for the power supply does not match the settings in your country, your computer may not turn on properly.
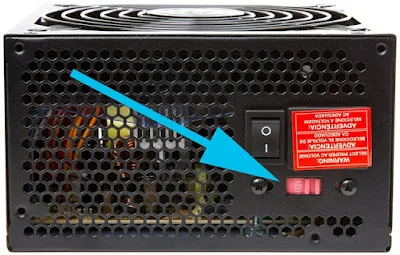
Your computer shouldn’t turn on at all if this switch is faulty, but inappropriate voltages can also cause computer problems like this. This small switch is used to adjust the input voltage to the power supply either 110v/115v or 220v/230v. In India, it should be set to 220v/230v.
#7: Reinstall All Computer Components
Unplug all cables and hardware in your PC and then plug it back in. One or more cables or hardware may have been loose. Unplug and reinstall things like power cables, data cables, memory, expansion cards (VGA, sound cards, etc.), and so on.
#8: Reinstall CPU
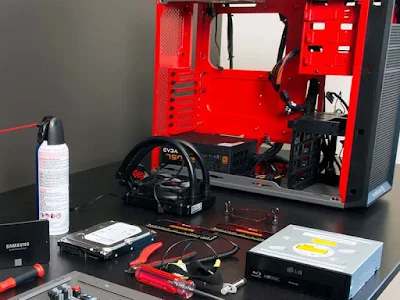
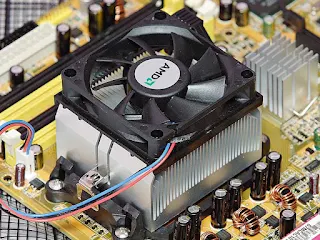
If the above solutions still don’t work, remove and then reinstall the CPU if there is any suspicion that it may have been loose or may not have been installed properly.
#9: Check For Short Circuit
Check if there is an electrical short inside your computer. This is very often the cause of common computer problems.
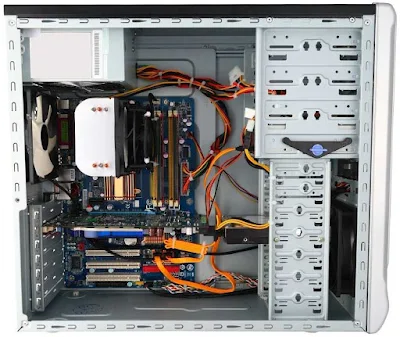
#10: Test Power Supply
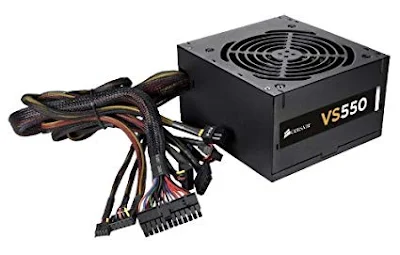
Just because your computer is on does not mean that the power supply in your computer is working properly. Power supplies tend to cause more problems than any other hardware device and are very often the cause of computers not working properly. Try to check by replacing it using a power supply from another computer.
#11: Use Minimum Hardware
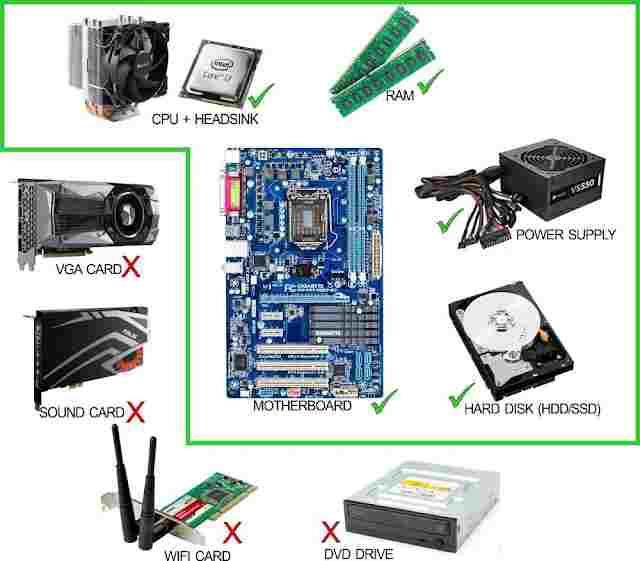
Start your PC with only the most important hardware. The goal here is to temporarily remove as much hardware as possible while still keeping the computer running properly.
- If your computer starts up and can continue to run, with only critical hardware, go to Step 12.
- If the computer does not start up properly, continue to Step 13.
#12: Check Additional Hardware
When the most important hardware is installed and there are no problems. Proceed with reinstalling any additional hardware. Re-test your computer (restart) in every installation of one piece of hardware, to check whether every piece of hardware installed is problematic or not.
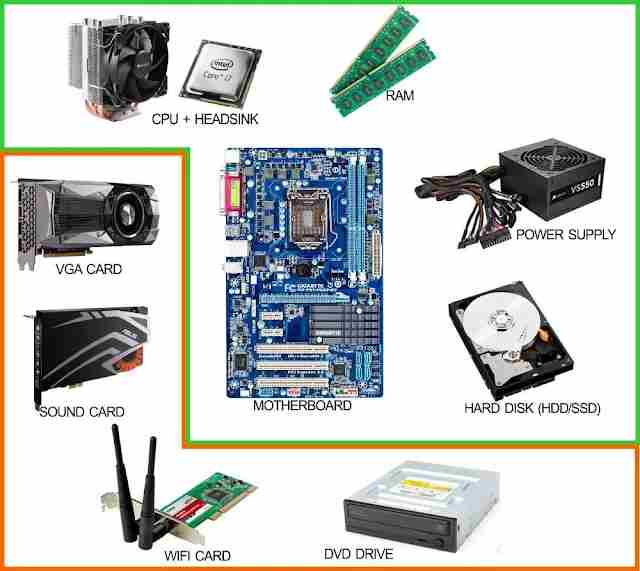
Since your PC is powered by only the most important hardware, the components work properly. This means that one of the additional hardware removed is causing the computer problem. By installing that hardware into your computer and testing after every single hardware install, you’ll find the hardware that’s causing your problem. Once you find it, replace the problematic hardware with a new one or one that is still working.
#13: Use PC Analyzer / Power On Self-Test card
Test PC using PC Analyzer / Power On Self Test card. If your computer is still not displaying anything on the monitor, even with only the essential hardware, a POST card will help identify which hardware is the problem.
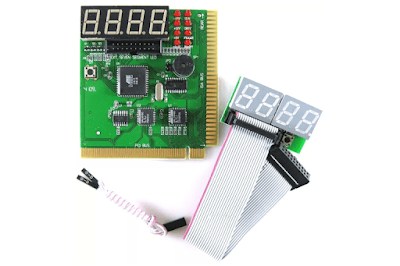
The price of a POST card is very affordable. However, if you don’t have one and don’t want to buy a POST card, go to Step 14.
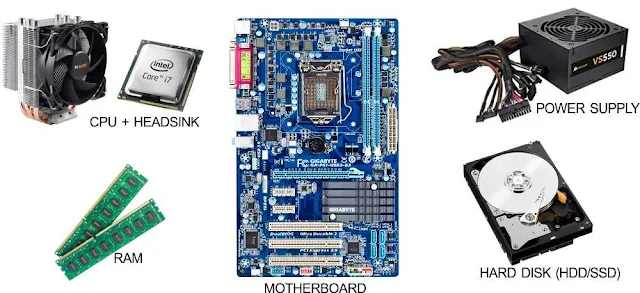
#14: Check the Minimum Hardware
Replace each hardware in your computer one by one with the same or equivalent hardware which has been ” known to be in good condition “. Do a test every time you replace a component, to find out which hardware is the problem.
#15: Professional Help
Finally, if all else fails, you may need to seek professional help at a computer service center or from an authorized service provider for your computer.
Read more:
- 5 Best Ways To Enable Wifi on Acer Laptops PC
- 15 Best Free Audio Editors Software for Windows and Mac
- 6 Ways to fix the error “This copy of Windows is not Genuine”
Conclusion:
This is the explanation of 15 ways to fix a computer that turns on but has no display, Unfortunately, without a postcard and also without replacement parts, you won’t know which hardware is the problem. In these cases, you have little choice but to rely on the individual or company that owns the resource.
Leave a Reply